When I entered the digital design space back in 2015, things were simpler. Mailchimp was the go-to for newsletters, Showit was just gaining traction, and Basecamp was the only real option for managing projects. Honeybook was around, but mostly used for contracts and invoicing—nothing like the all-in-one client experience platform it’s become today. Limited options to say the least.
Fast forward to 2025, and we’re running businesses in a world overflowing with tools and platforms. From websites to workflows, there are endless options for every stage of the client journey. It can be overwhelming to know where to start or how to integrate them together. Which is why I’m sharing my go-to formula for building a cohesive brand experience—starting with Honeybook and Showit.
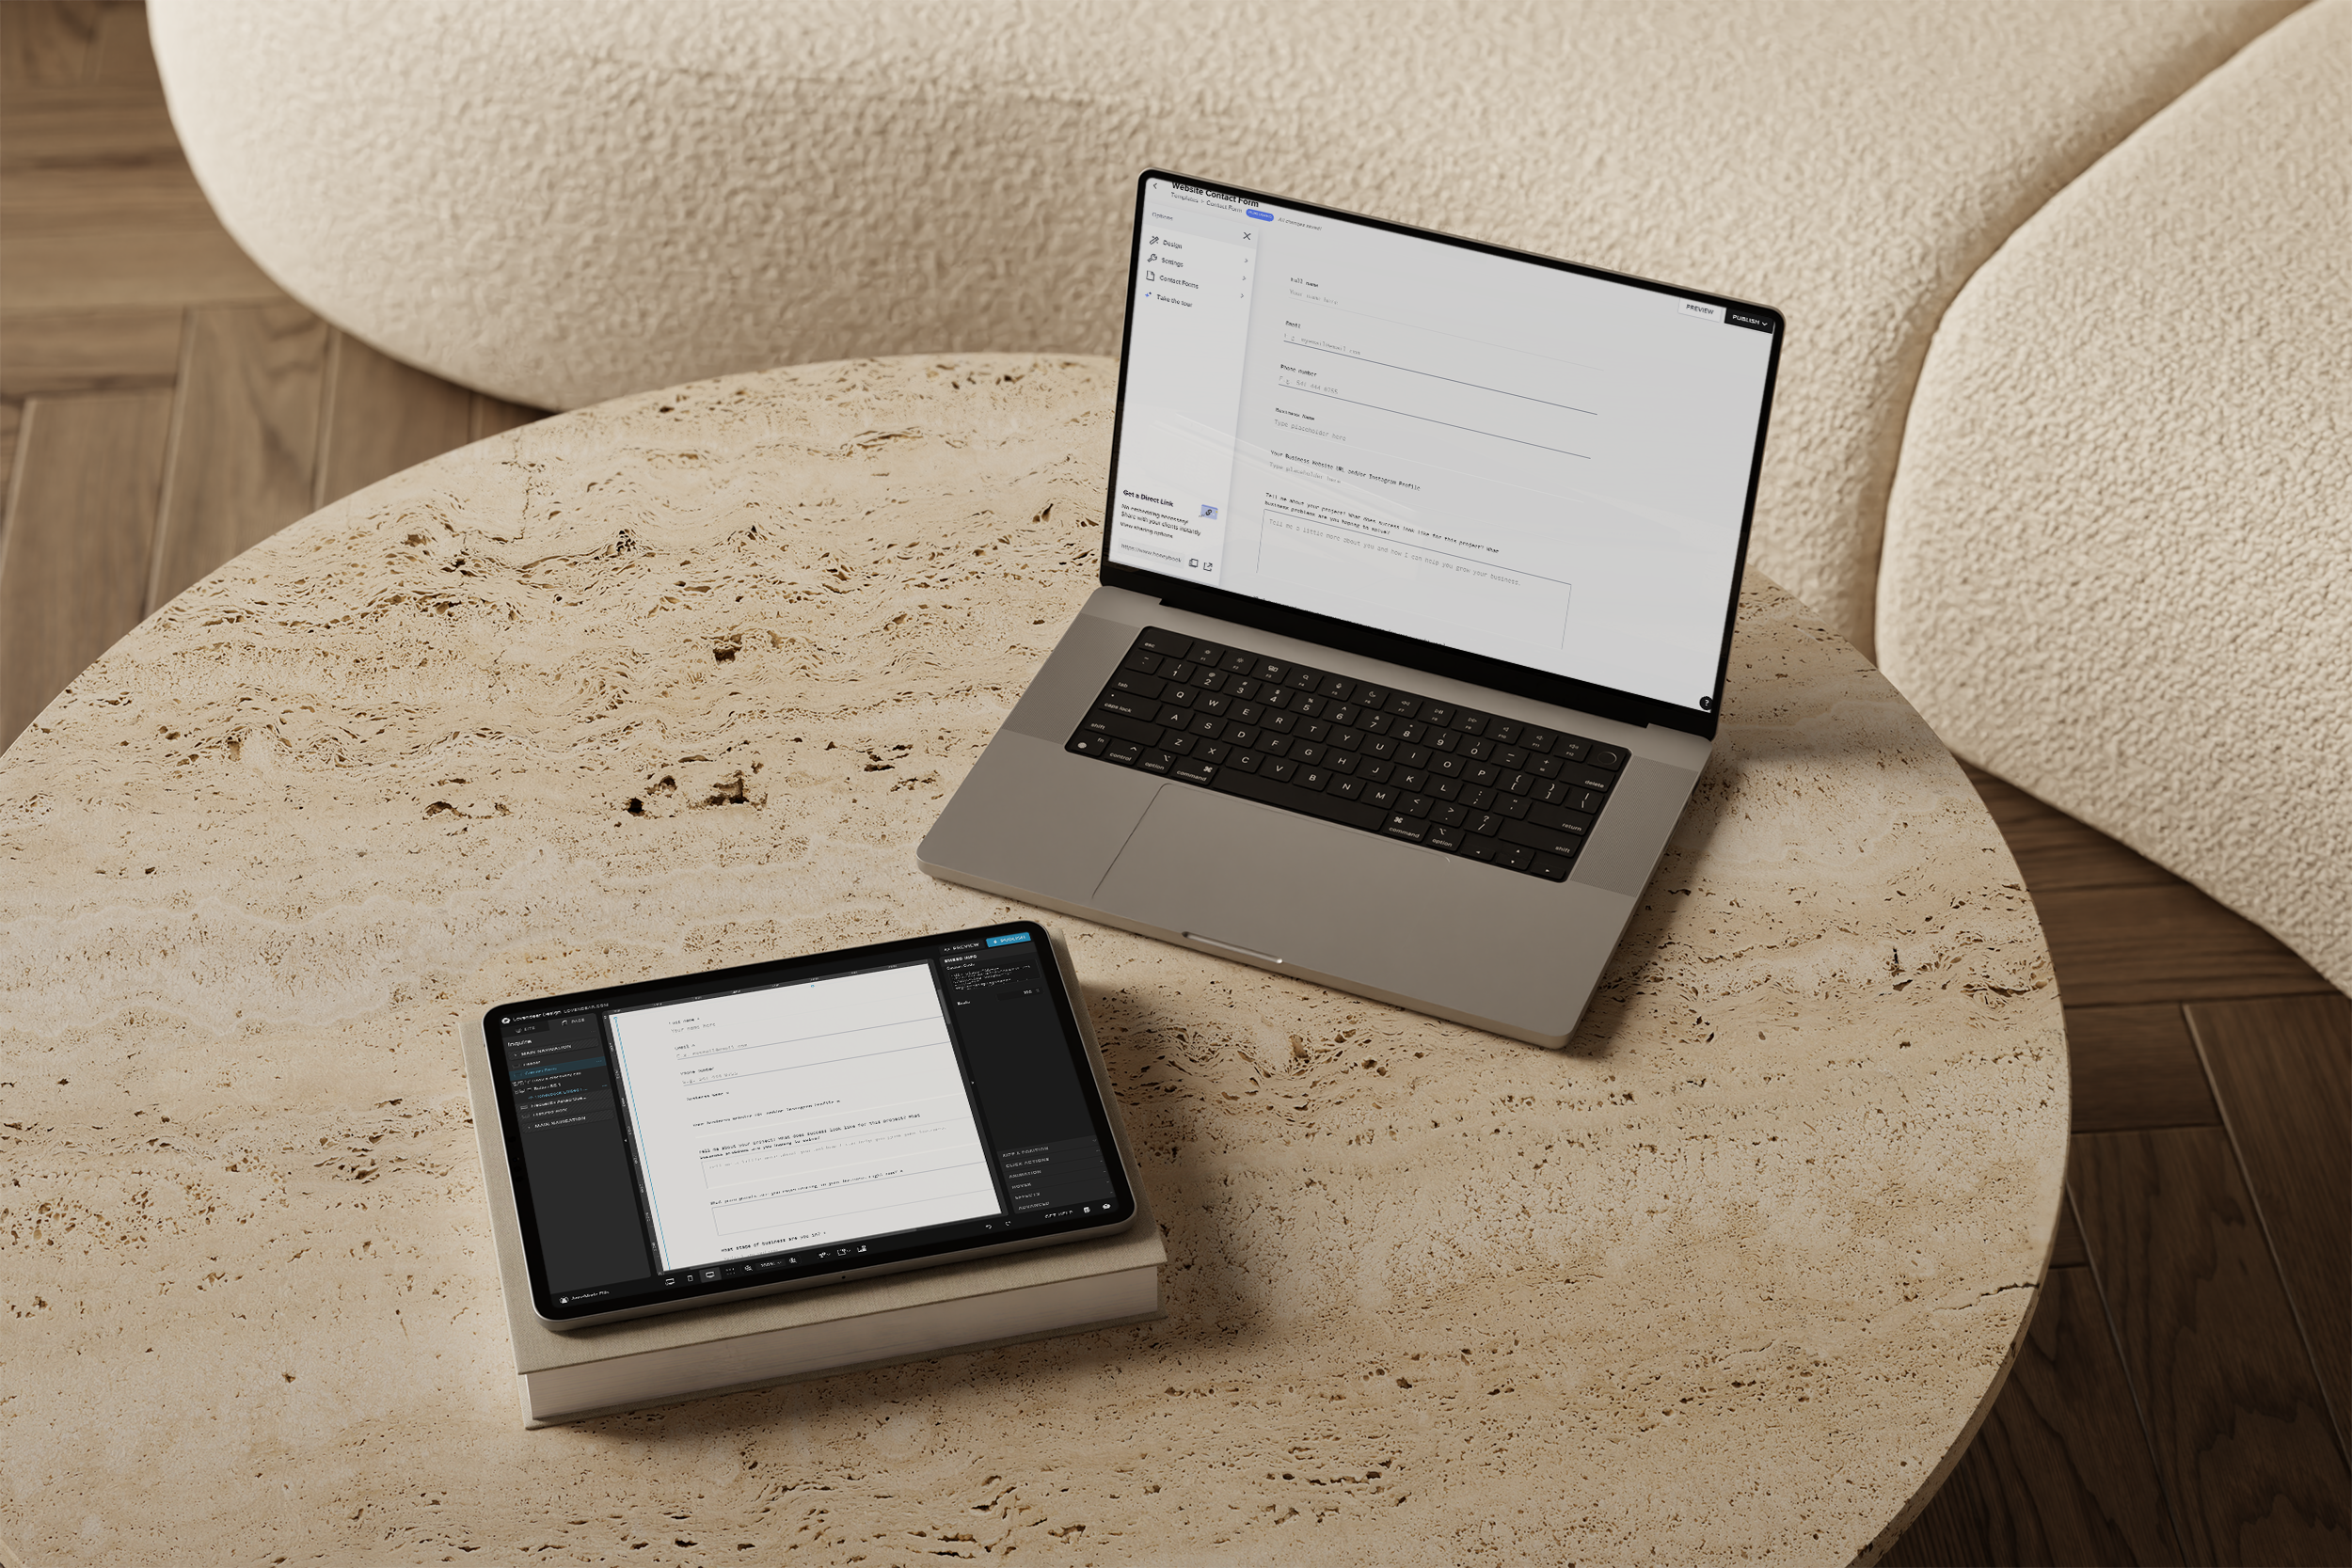
Think of Honeybook as Your Personal Assistant (But Better Looking)
Lets talk about how to set up Honeybook to work for you, not the other way around. When used intentionally, Honeybook can truly feel like your behind-the-scenes assistant, keeping your client experience smooth, professional, and on-brand at every step.
Rather than piecing together documents or replying to emails manually, automate the key parts of your business, while still adding a personal touch. Try these helpful tips:
- Create branded proposals to wow potential clients and close the sale!
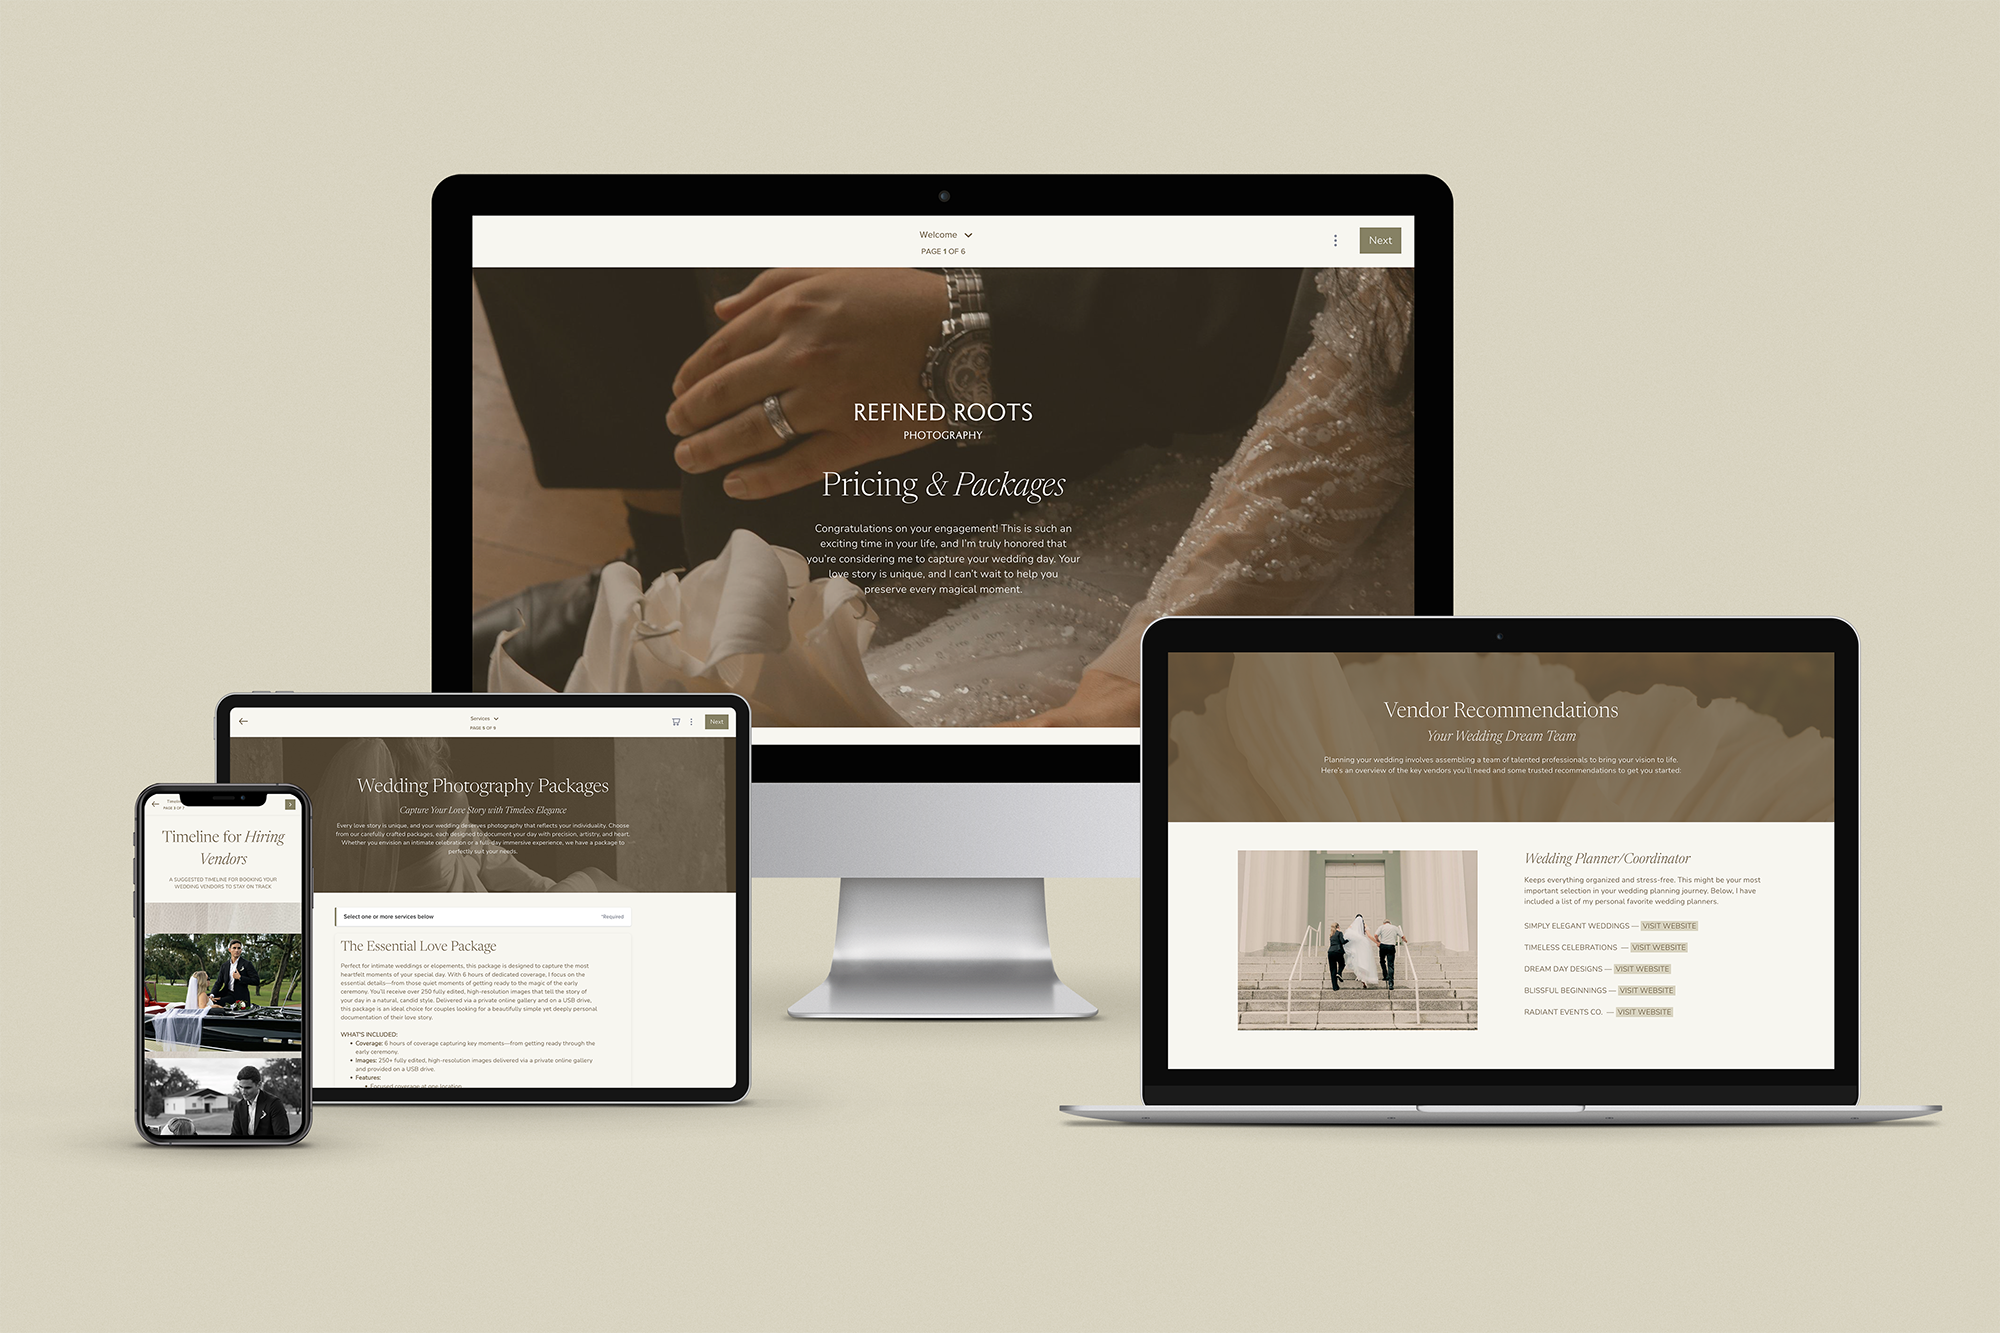
- Welcome clients with a beautiful guide about what to expect during their project
- Share pricing and packages with clarity and ease
- Gather onboarding info in a way that feels seamless and high-touch
- Set up automated emails that feel warm, not robotic
The key is to be sure your brand visuals and voice stay consistent across the platform. Set up your brand assets and smart file theme in your Honeybook account to make this process quick and easy. When your files look and feel like an extension of your brand, clients will feel instantly confident that they’re in the right hands. Unsure how to set up your brand within your Honeybook account? Check out this blog post to walk you through it.
Need a shortcut? My Honeybook templates are fully customizable and designed to help you elevate your client experience from the very first click.
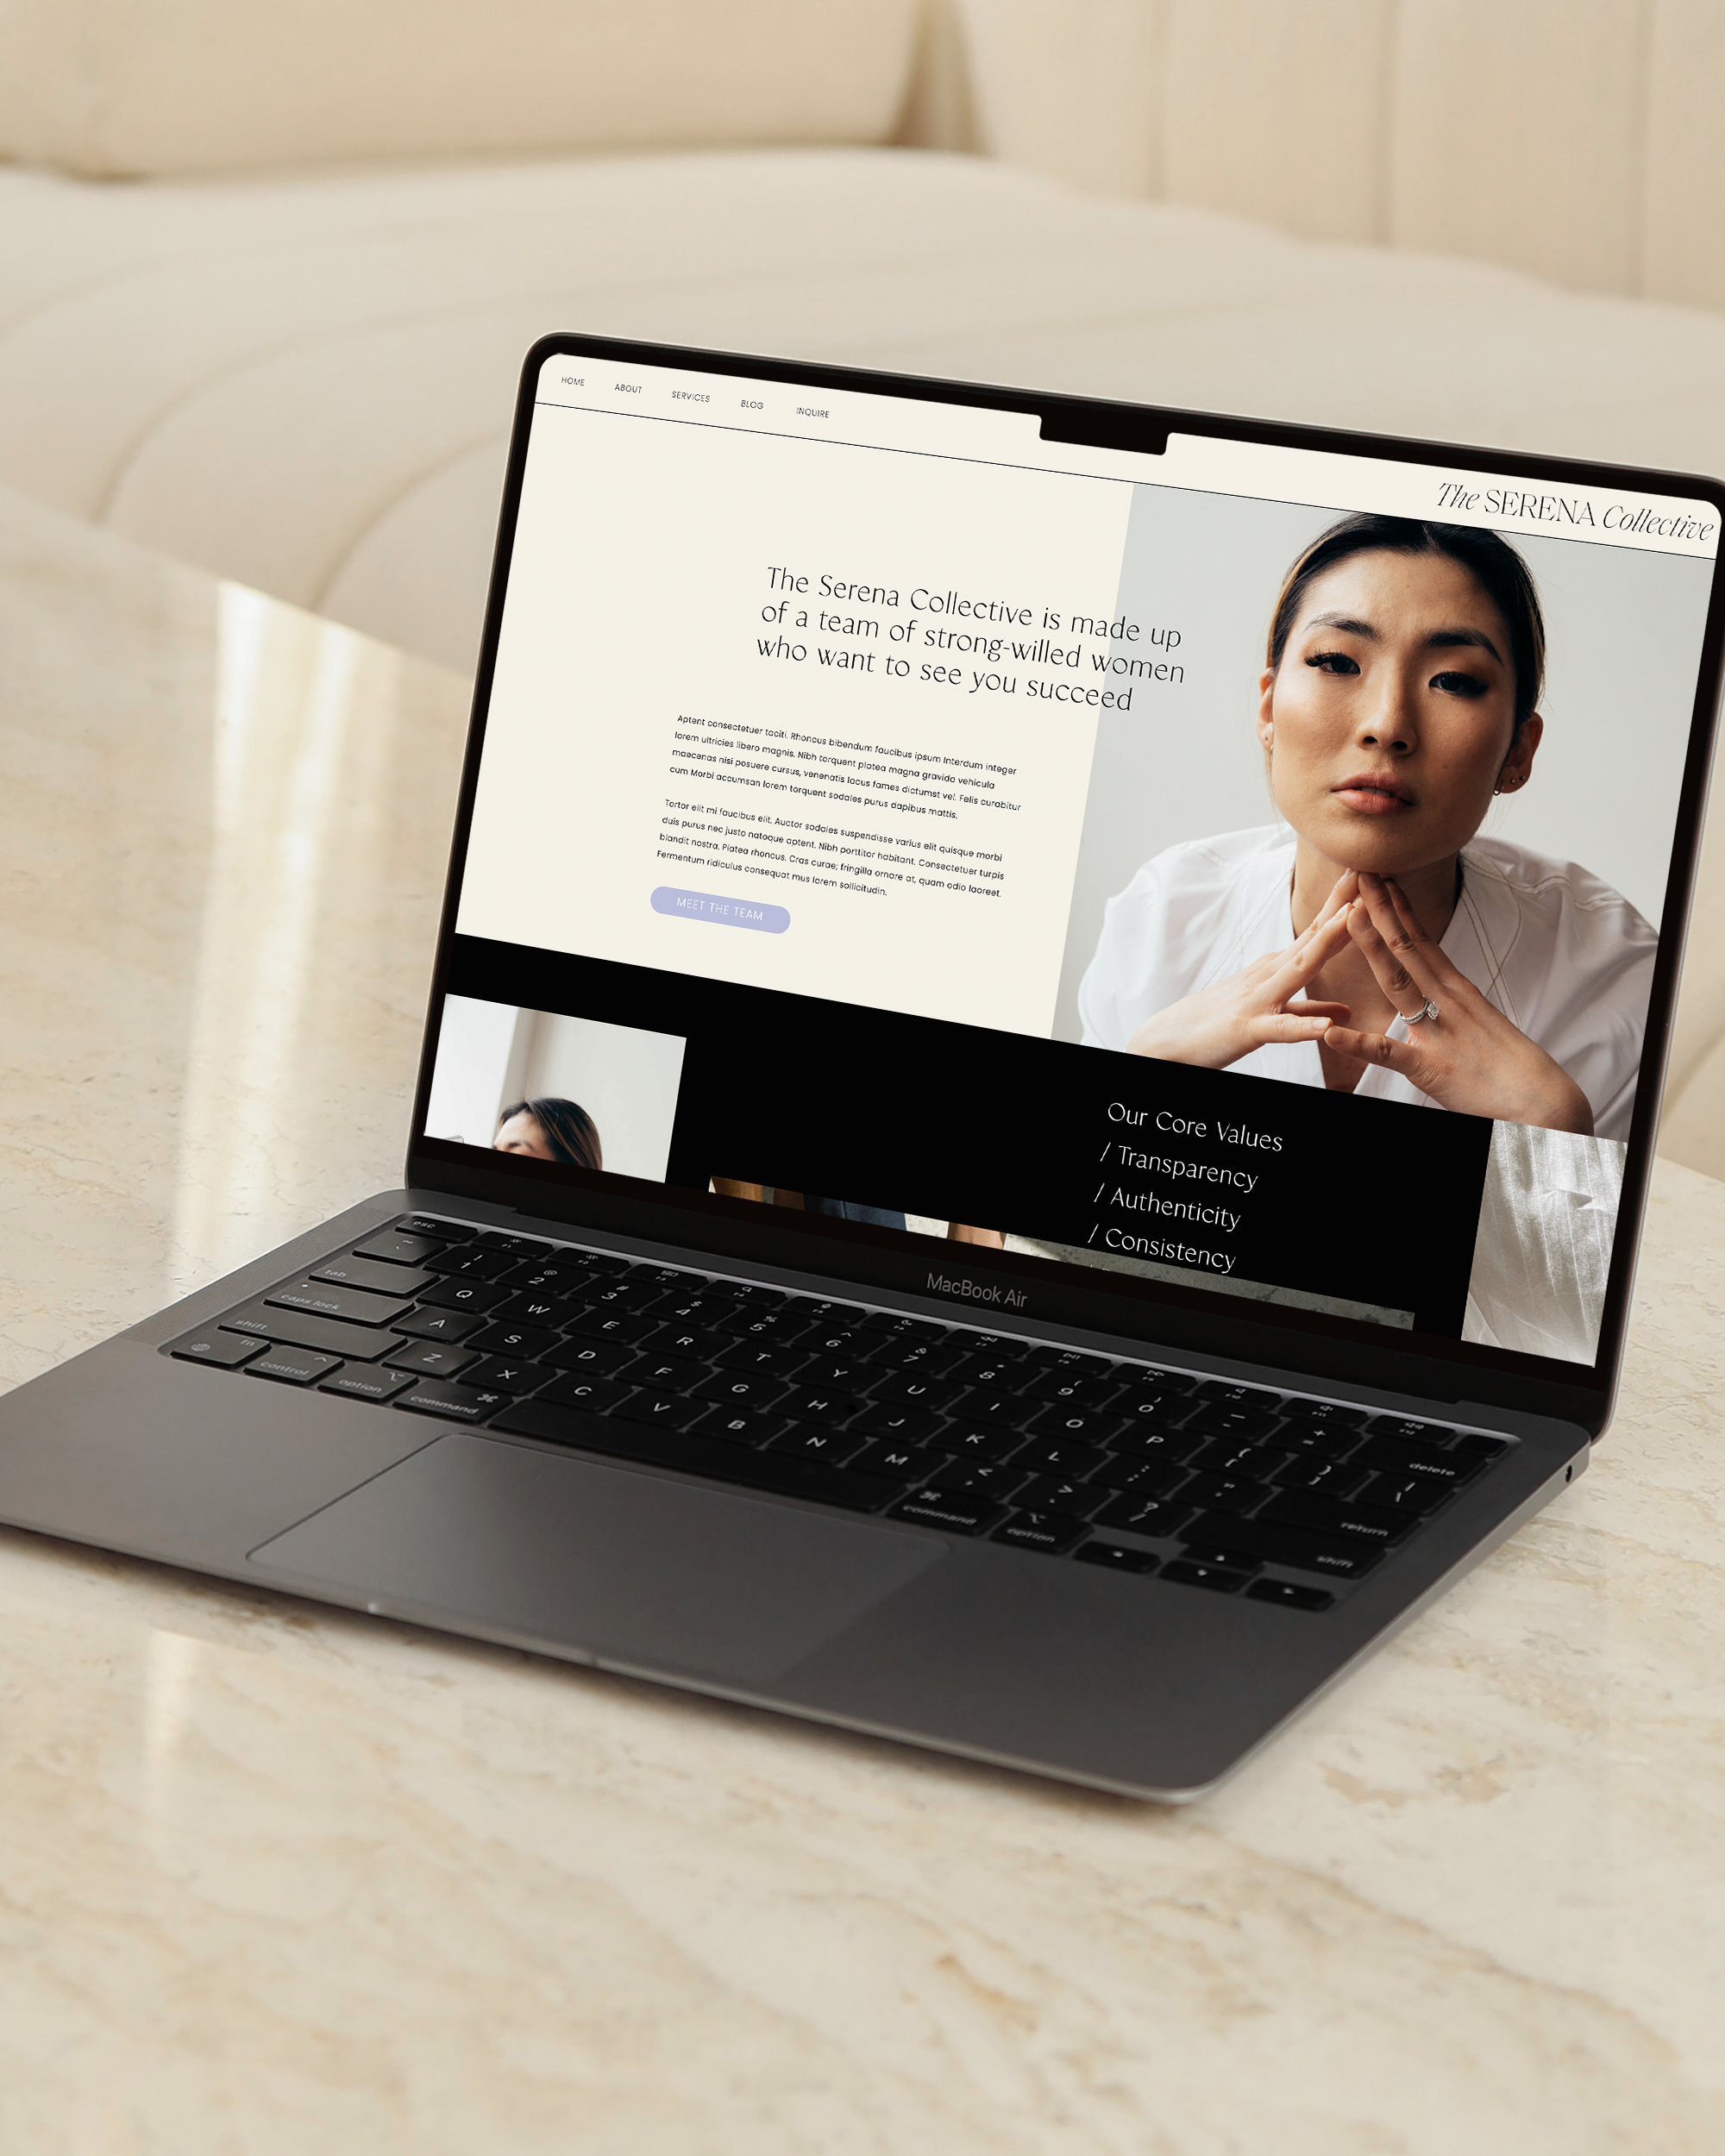
Use Showit to Create an Intentional, Aligned First Impression
Oftentimes, your website is the first real interaction a potential client has with your brand, maybe other than social media. So, it should look and feel like a natural extension of the experience you deliver to your clients.
Showit is an easy platform to learn and create a website. There’s no need for custom coding or clunky add-ons to create the website of your dreams. You have full creative freedom to build a site that looks and feels like you—from layout and imagery to fonts, colors, and messaging. But beyond just looking pretty, your website should guide visitors effortlessly toward taking action.
Here are a few signs of a strong website:
- Your copy is clear, confident, and speaks to your ideal client
- It reflects your brand’s personality and values
- It’s easy to navigate and visually consistent throughout
- Your inquiry process is simple, clear, and inviting
- It leads your client step-by-step through who you are, what you offer, and how to book
I can’t tell you how many times I’ve stumbled across a website that included a grid of images with a footer on the homepage and a contact form. A well-designed Showit website doesn’t just showcase your work—it builds trust, sets expectations, and gains the interest of potential clients.
If Showit is the road that leads clients to your brand, Honeybook is the map that guides them through the journey. When both are aligned visually and strategically, you create a seamless experience from the very first click to the final follow-up—one that feels clear, elevated, and thoughtfully designed.
I have new Showit templates launching this spring designed specifically with that seamless journey in mind. Two new designs pairing with my Honeybook template collections will be available to create an all-in-one conhesive client experience. If you want to be the first to know when they go live, join the email list or follow along on Instagram.

Let’s break down how you can create a seamless, branded experience using these two tools.
Integrate Honeybook and Showit to bring it all together
Once you have Honeybook and Showit set up, it’s time to make them work together. Embed your contact form into the contact form of your Showit website to automatically onboard clients into your Honeybook account.
Follow these steps to integrate
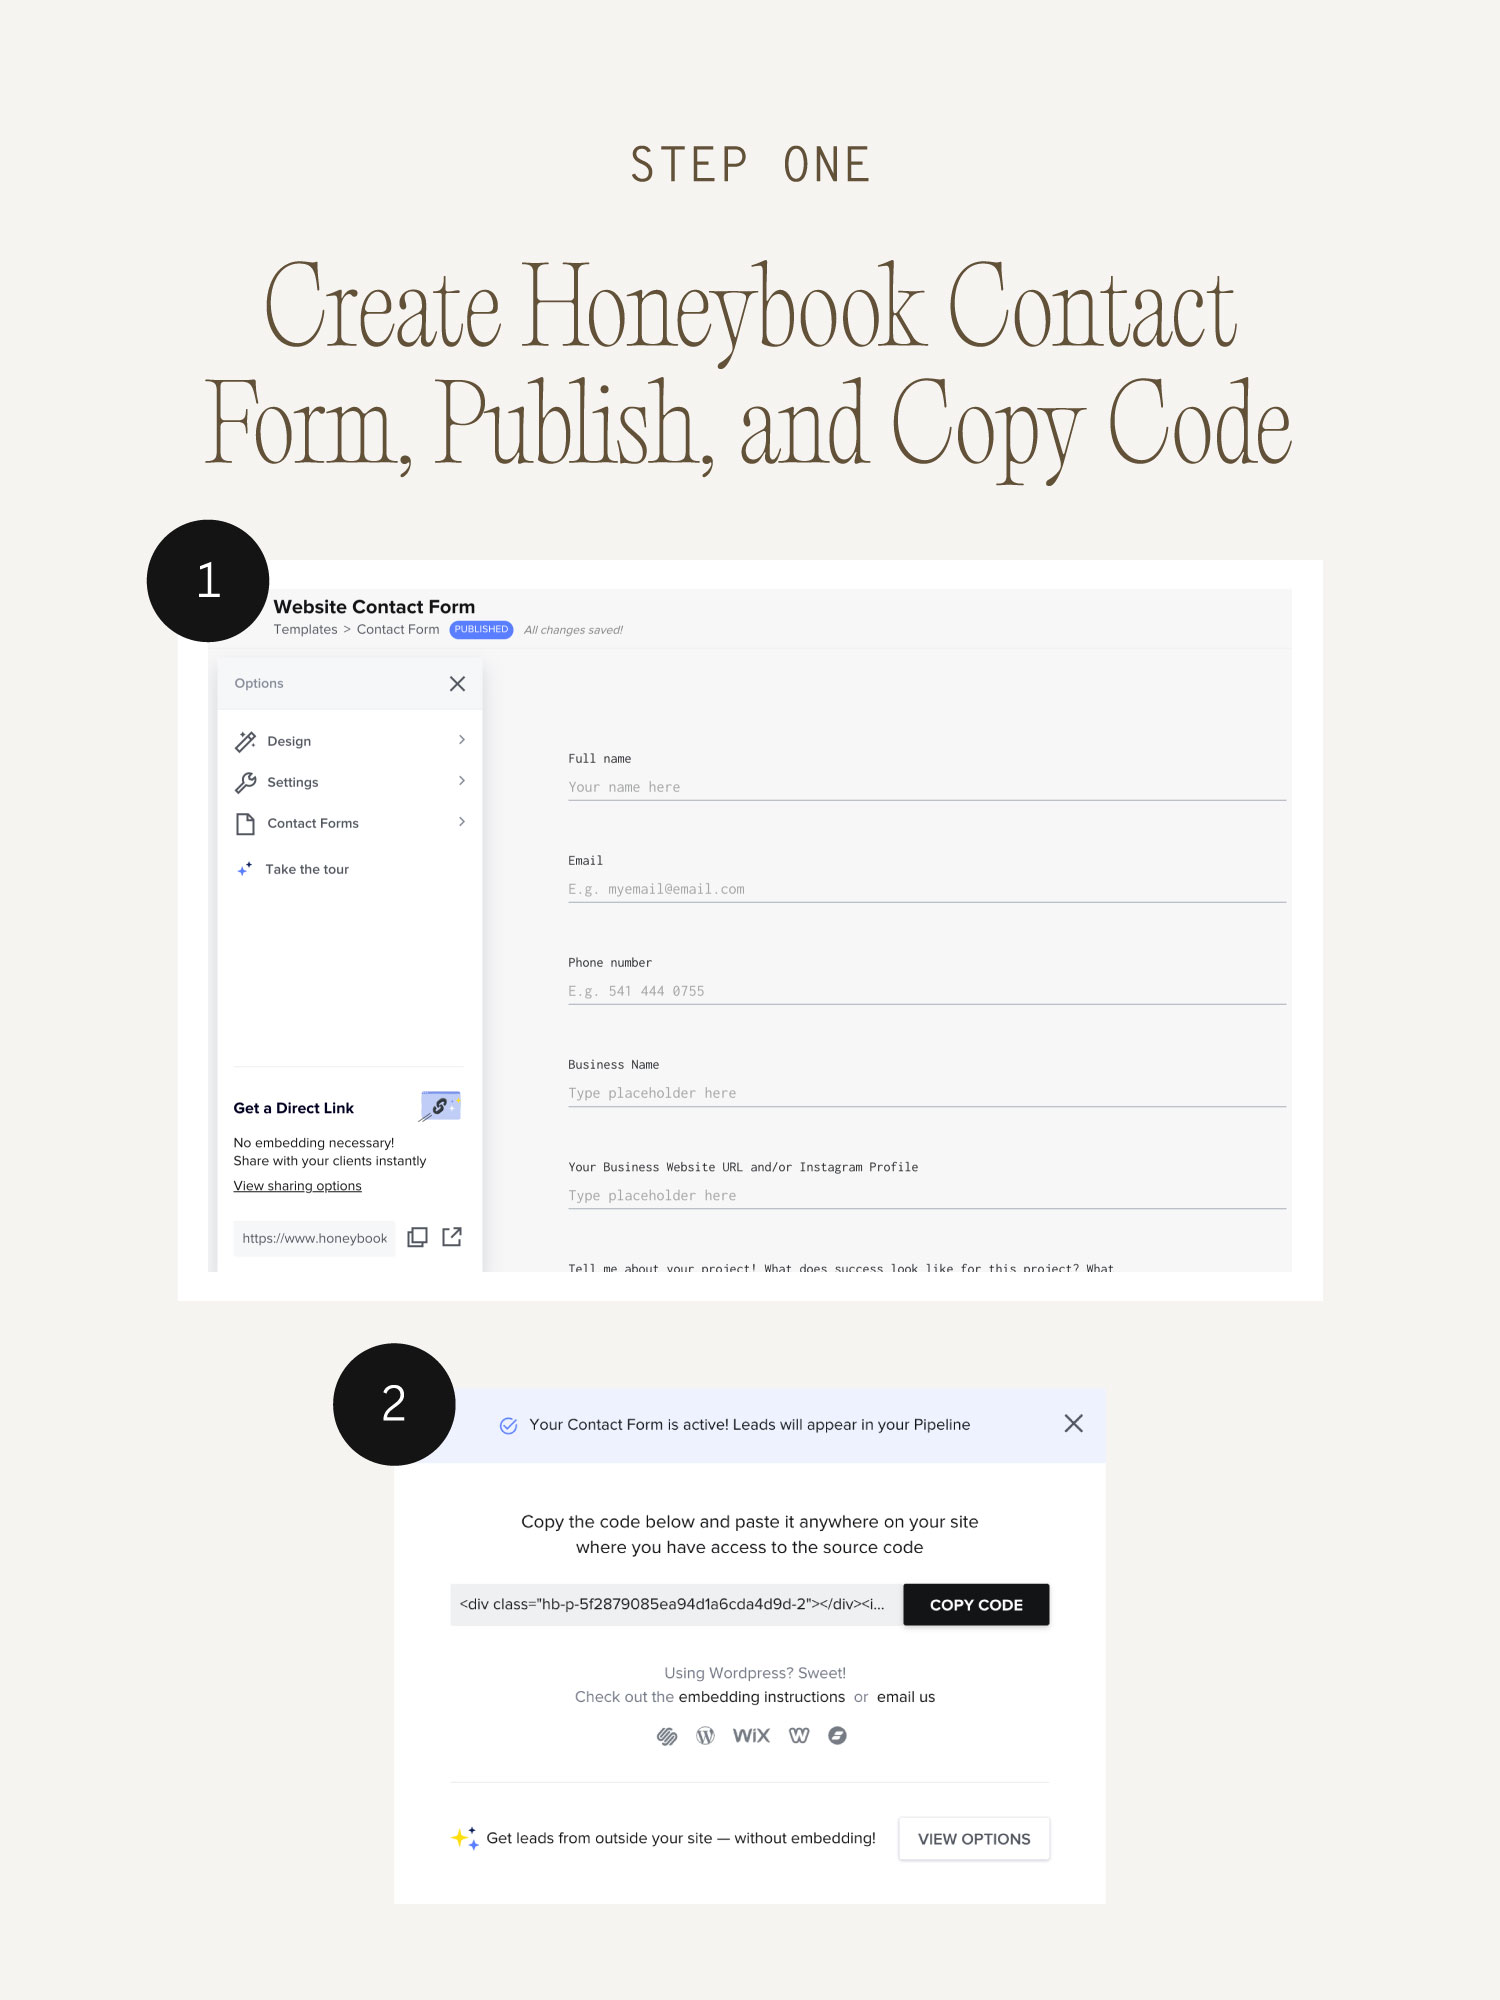
- Log into your Honeybook account and select ‘Contact Forms’ underneath the ‘lead capture’ menu item.
- Create and customize your contact form to include the form fields you wish to gather from potential clients
- Publish all changes to your contact form and copy the code provided.
- Log into your Showit page and navigate to where your contact form is
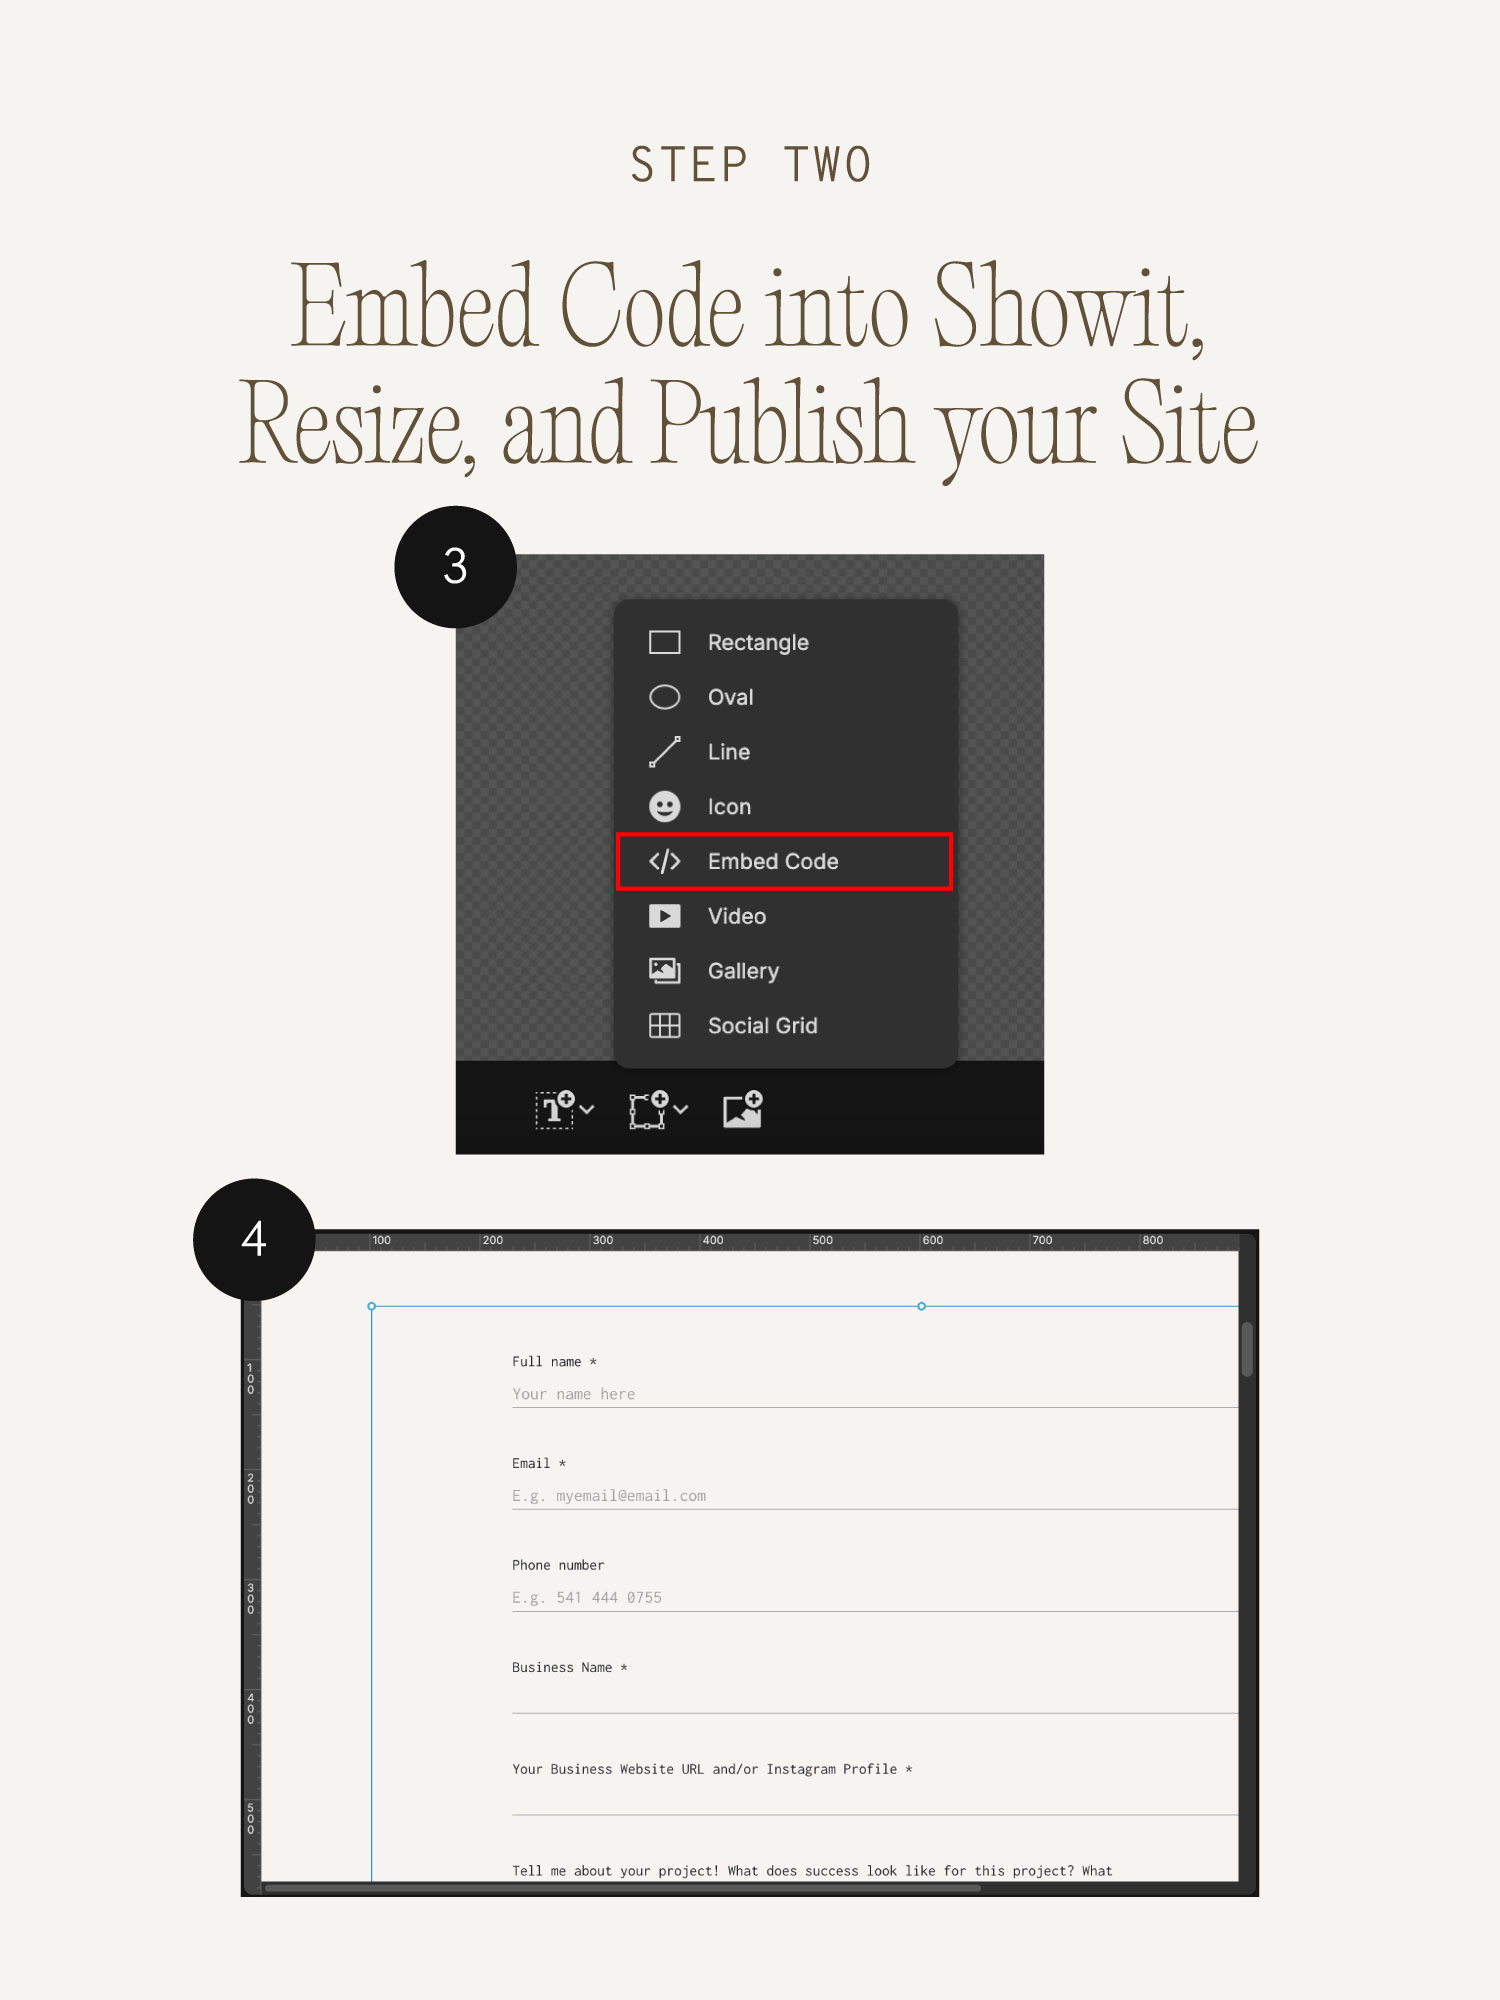
- Use the Embed Code widget from the tools menu at the bottom of your browser window to paste your Honeybook contact form code into Showit
- Resize the form to fit your design and publish your site when you’re ready
Ready to uplevel your client experience?
→ Explore my Honeybook templates — and use code HBPHOTOG15 for 15% off all Honeybook temlpates for Photographers through the end of April.
→ New Showit templates launching this spring! Join the email list to be the first to know. There’s even an awesome freebie for joining the newsletter 😉
